1. Configure SharePoint for forms-based authentication
Before you can use the FBA Pack, SharePoint must be configured to use forms-based authentication:
- SharePoint 2016 / 2019 / SE: Configuring FBA in SharePoint 2016
- SharePoint 2013: Configuring FBA in SharePoint 2013
- SharePoint 2010: Configuring FBA in SharePoint 2010 using IIS 7
2. Install (or upgrade) the FBA Pack
-
Download and unzip
SharePoint201XFBAPack.X.X.X.zipon the SharePoint server. -
Open PowerShell and go to the folder you unzipped the files into.
-
Run:
.\deploy [Site Collection URL]For example:
.\deploy http://demo2010a:13824/
The FBA Pack is deployed to SharePoint and activated on the site collection you specified. If you leave out the site collection URL, you'll need to activate the Forms Based Authentication Management feature yourself in each site collection where you want to use it.
To uninstall, run:
.\undeploy [Site Collection URL]
Before you deploy: make sure the SharePoint Administration service is running, or the deployment will fail.
Depending on your PowerShell security settings, the deployment scripts may be blocked because they aren't signed. To allow unsigned scripts to run, use:
Set-ExecutionPolicy Unrestricted
3. Configure the FBA Pack
The configuration and management pages are opened from Site Settings:
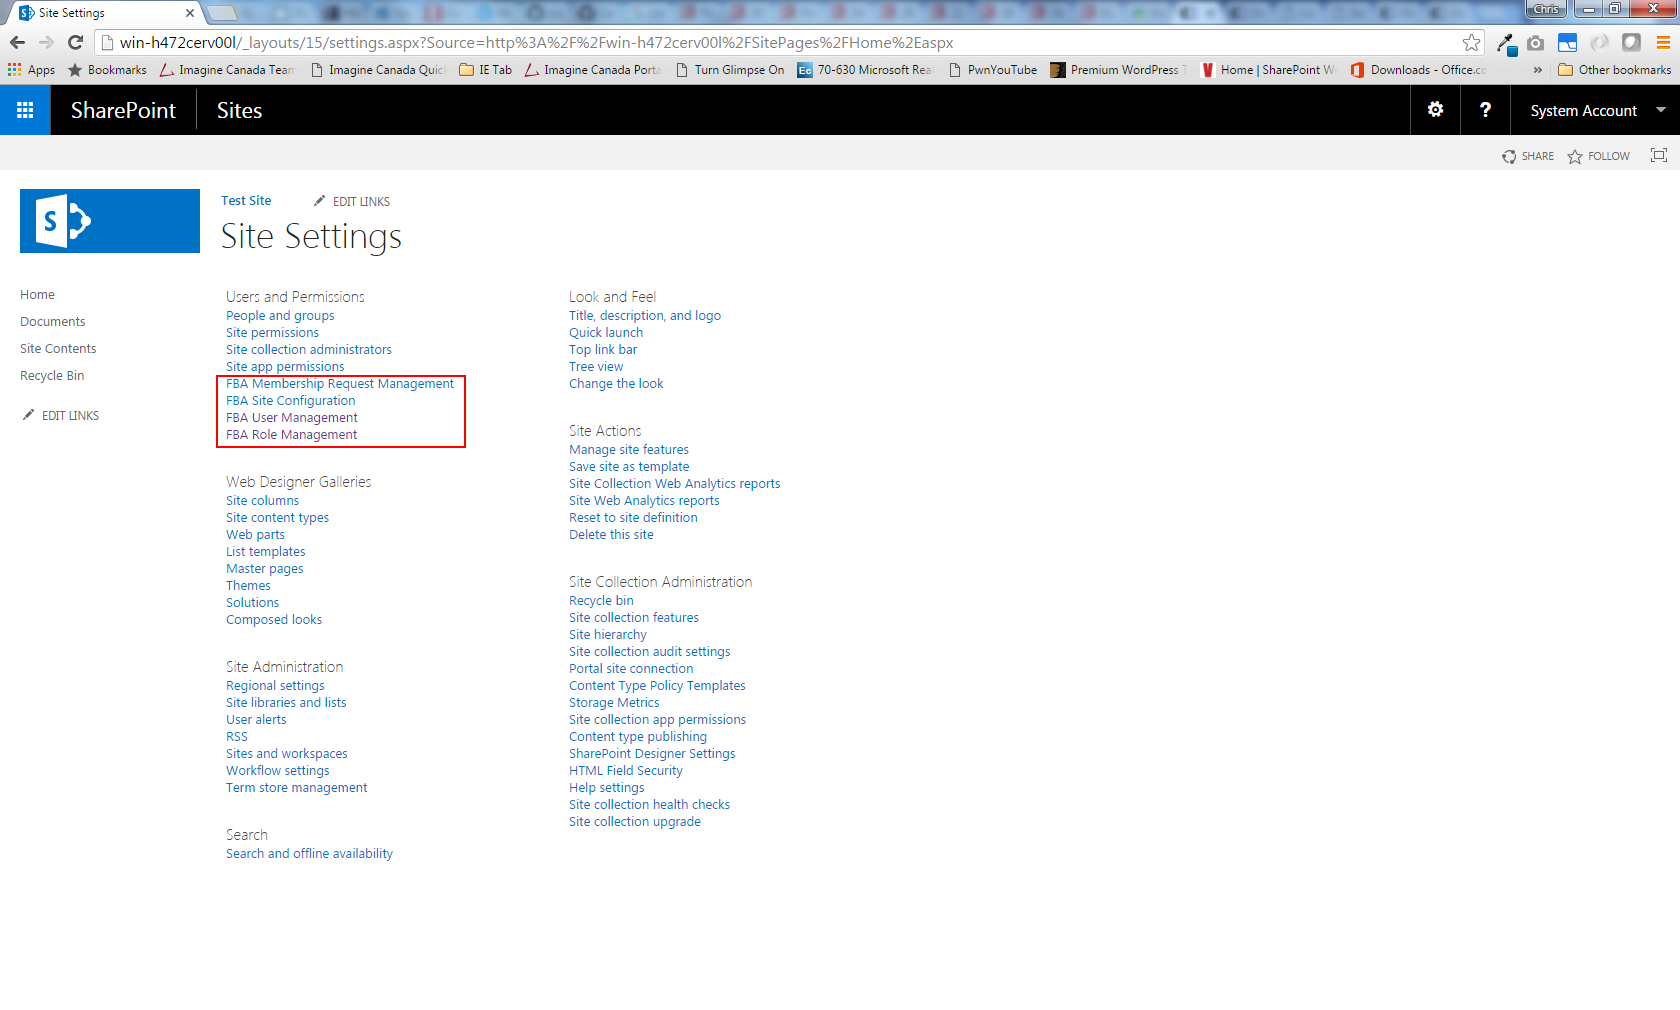
Select FBA Site Configuration to open the configuration page:
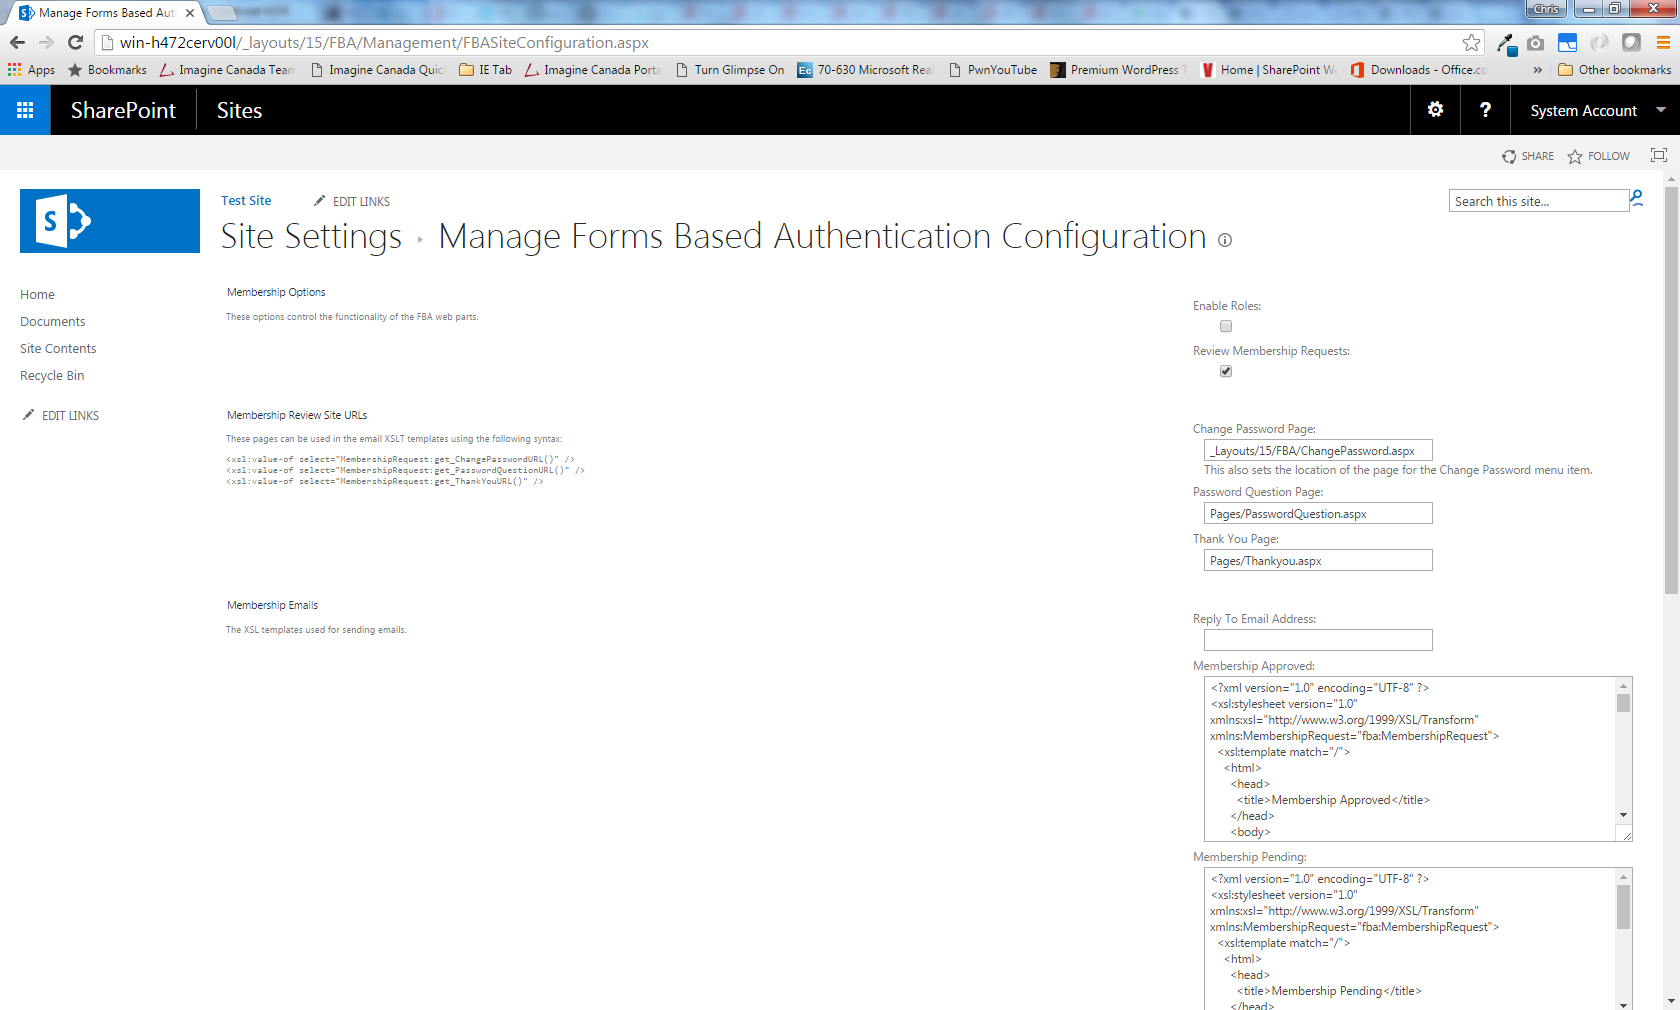
- Enable Roles
- Lets you assign users to membership roles, rather than SharePoint groups, on the User Management page.
- Review Membership Requests
- Sets whether new user requests are approved automatically or reviewed by an administrator first.
- Membership Review Site URLs
- Page URLs that can be used in the email templates.
- Membership Email
- The XSLT email templates to use.
Only site collection administrators can see and use these settings.
4. Add the web parts to your pages
There are three highly customizable web parts: Membership Request, Change Password and Password Recovery. You add each one yourself to the page where you want it to appear:
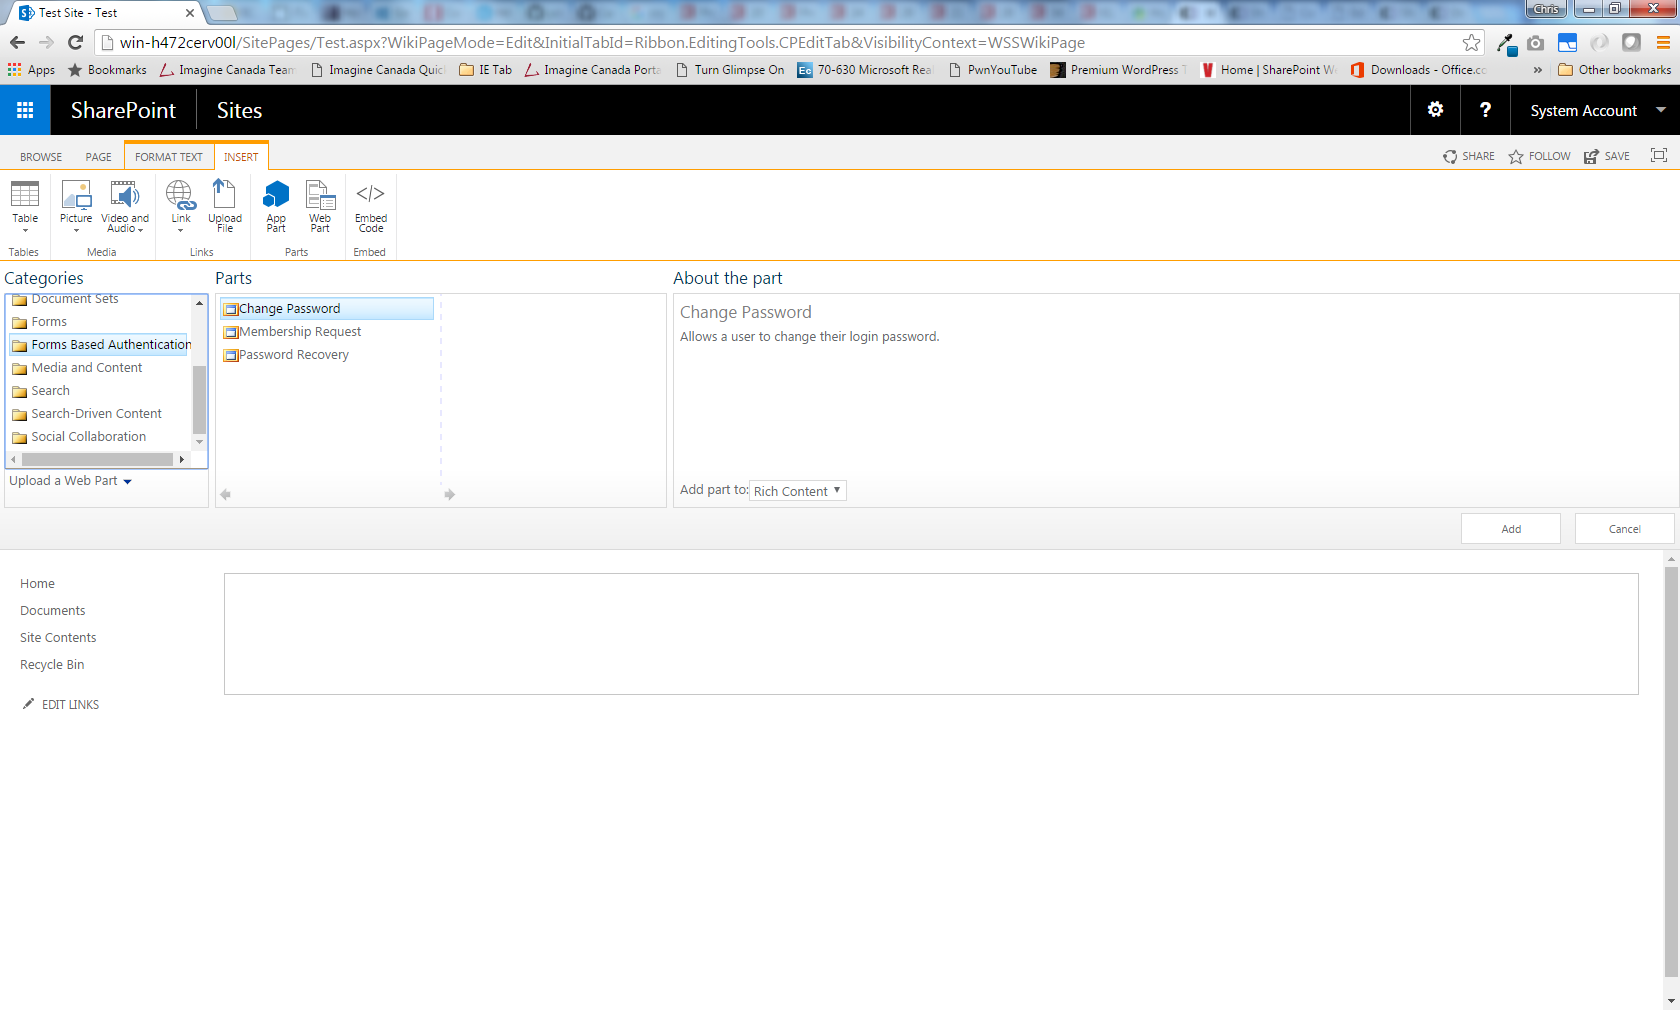
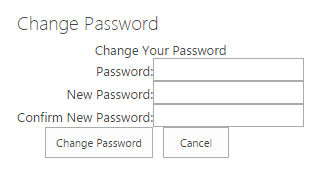
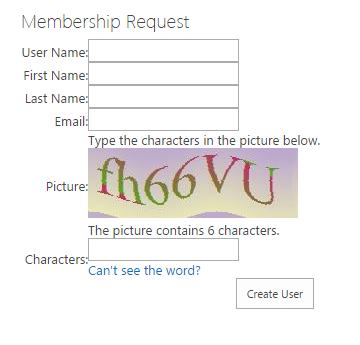
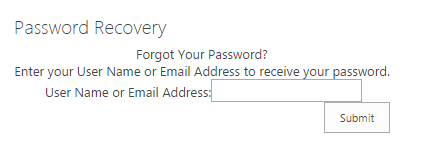
To change how the web parts look, see Customizing the web part layout.
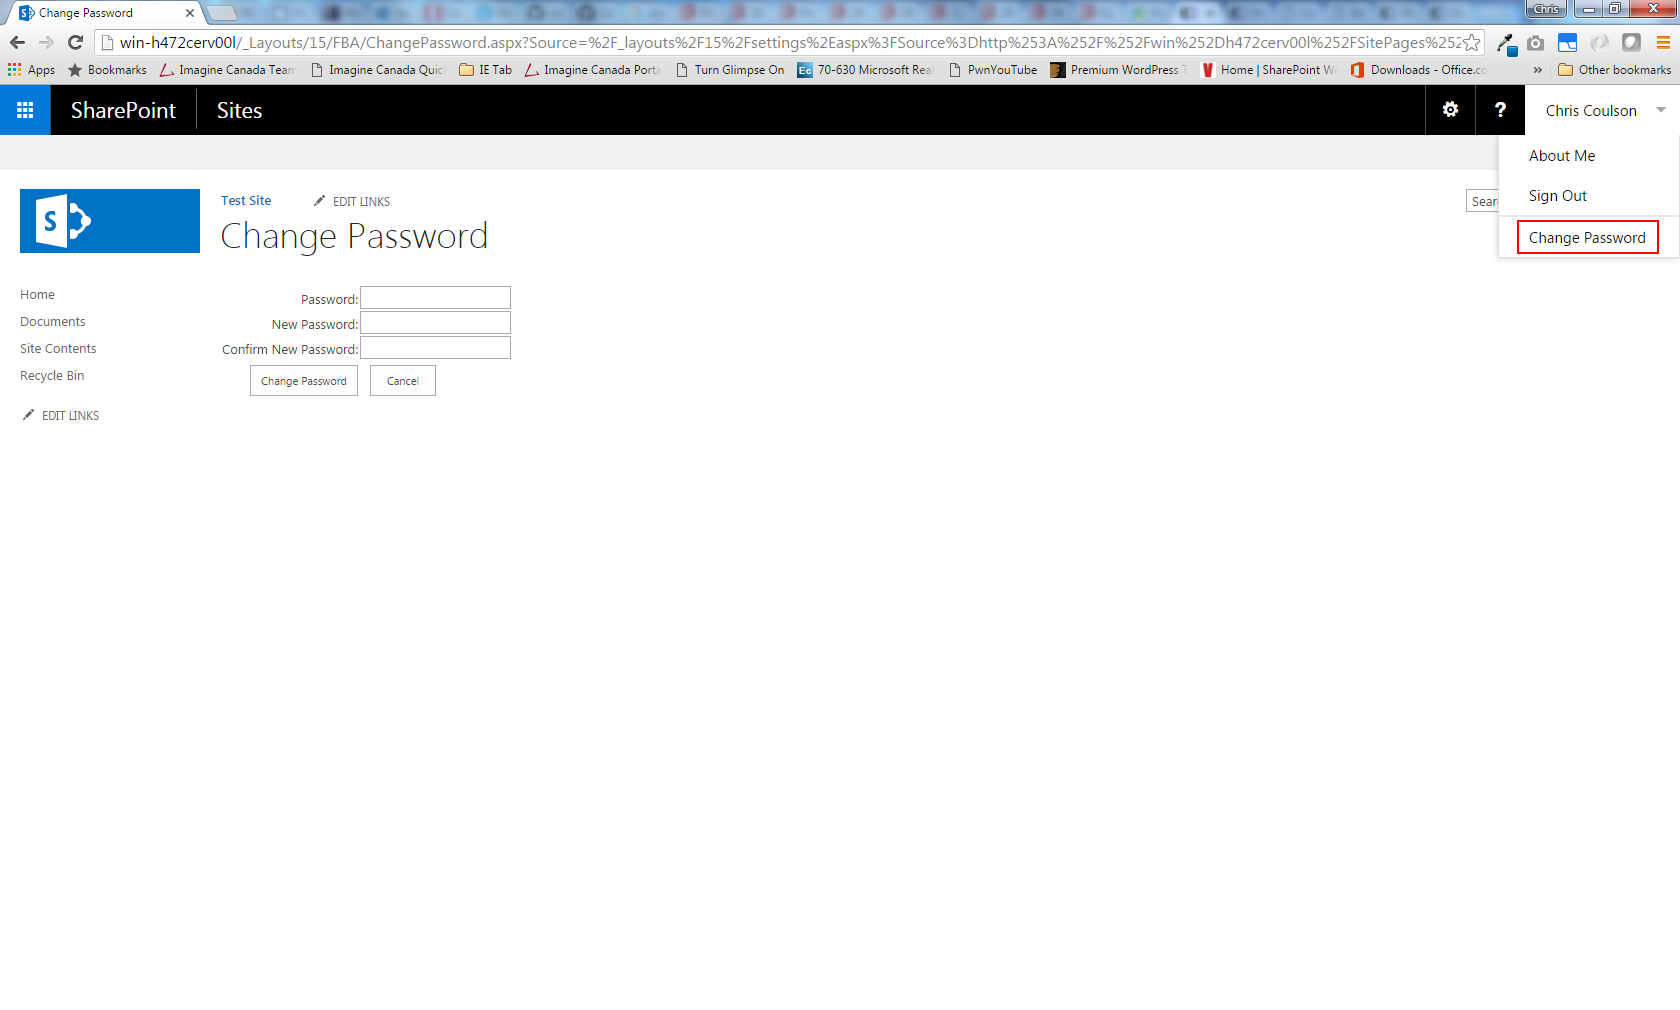
Changing your password
A Change Password item is added to the user menu. It takes users to a Change Password page:
Reviewing membership requests
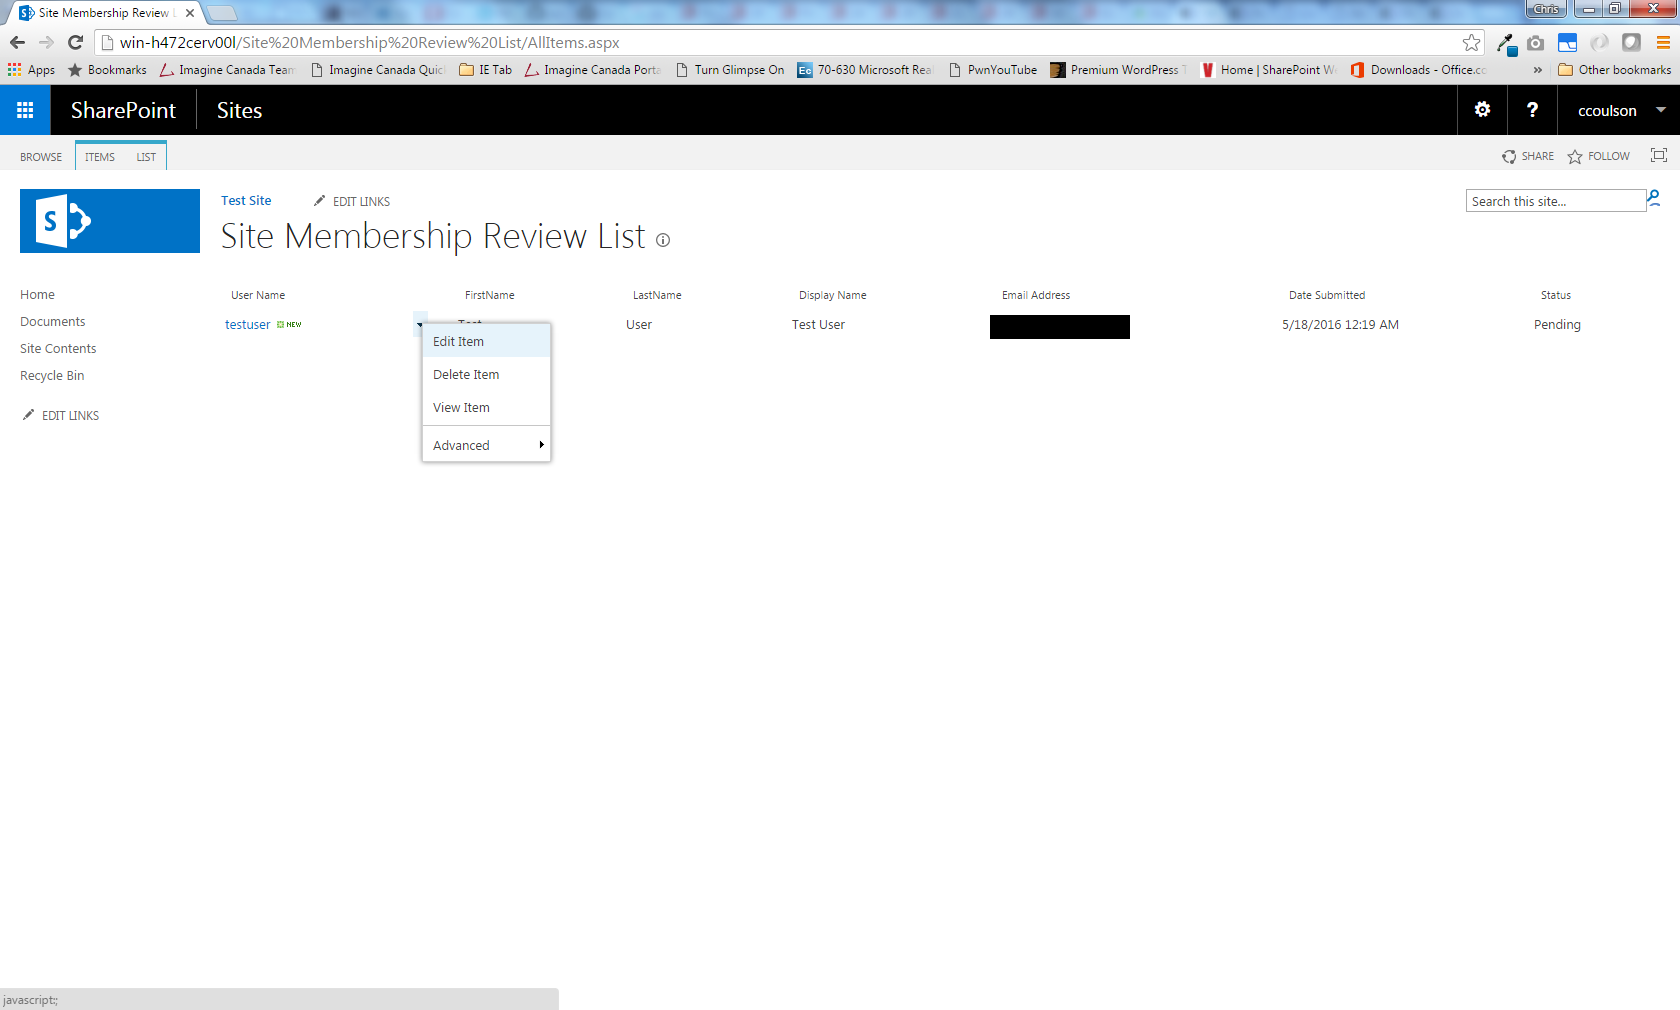
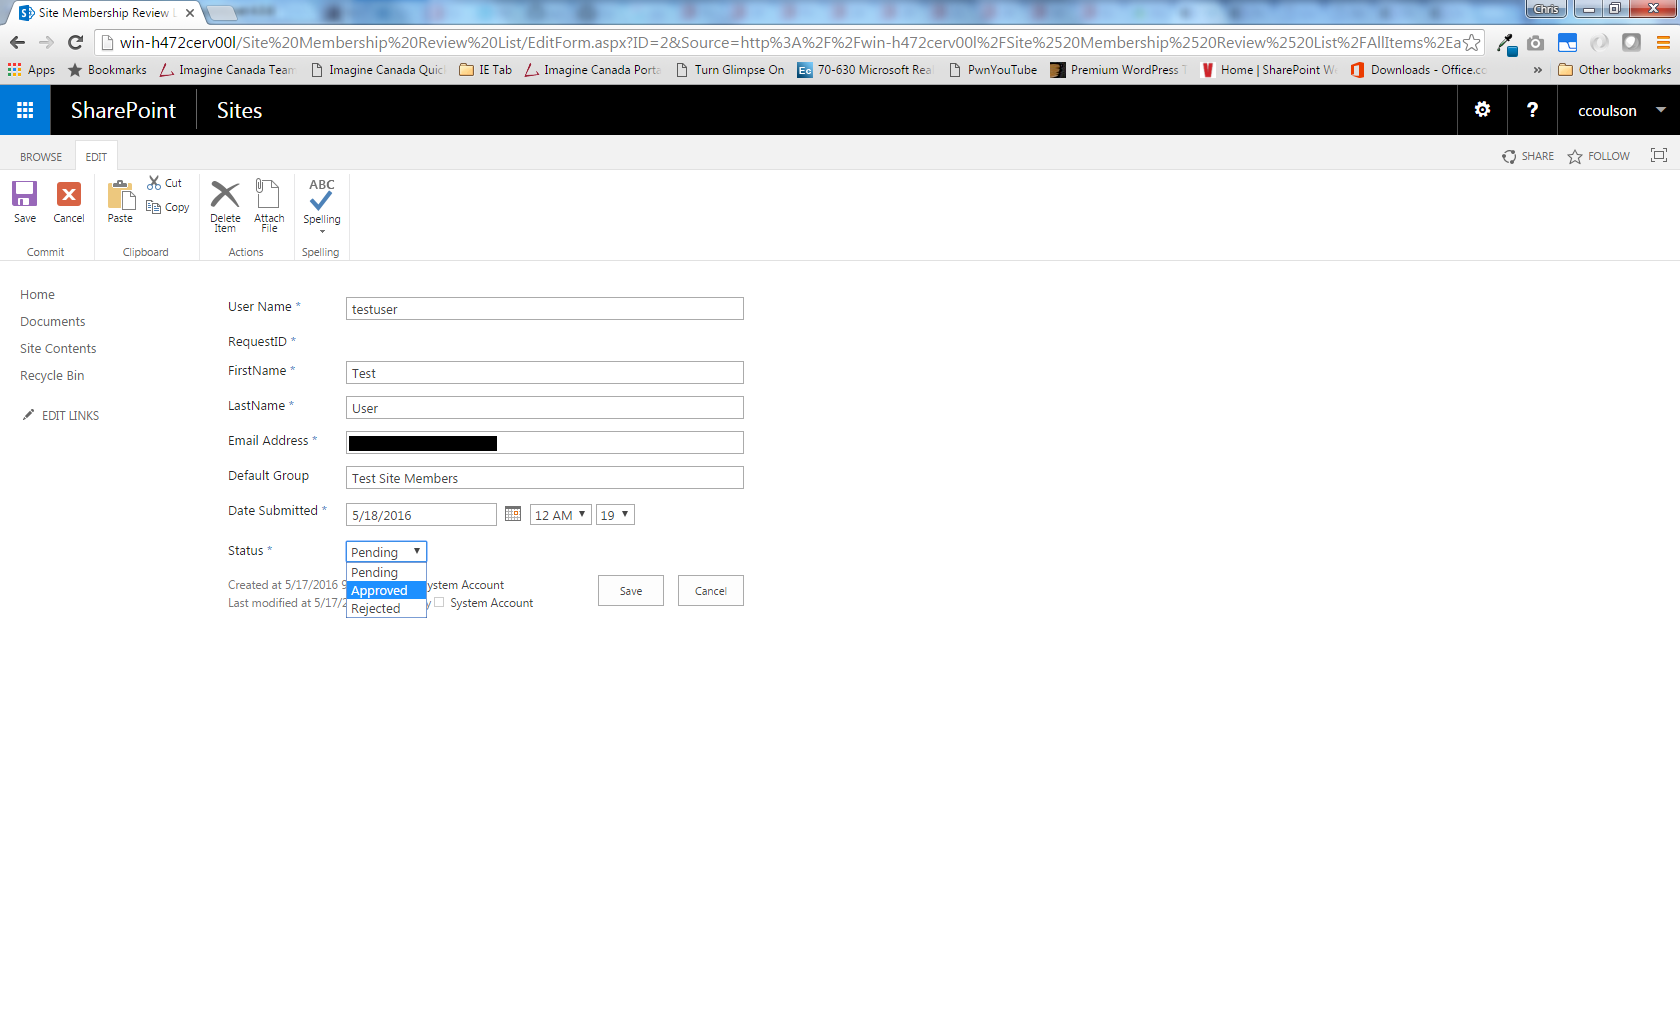
If Review Membership Requests is turned on, newly registered users appear on the Membership Request Management page and can't use the site until they're approved. You can edit each request and set its status to Approved or Rejected. The user is then emailed the new status of their account request.
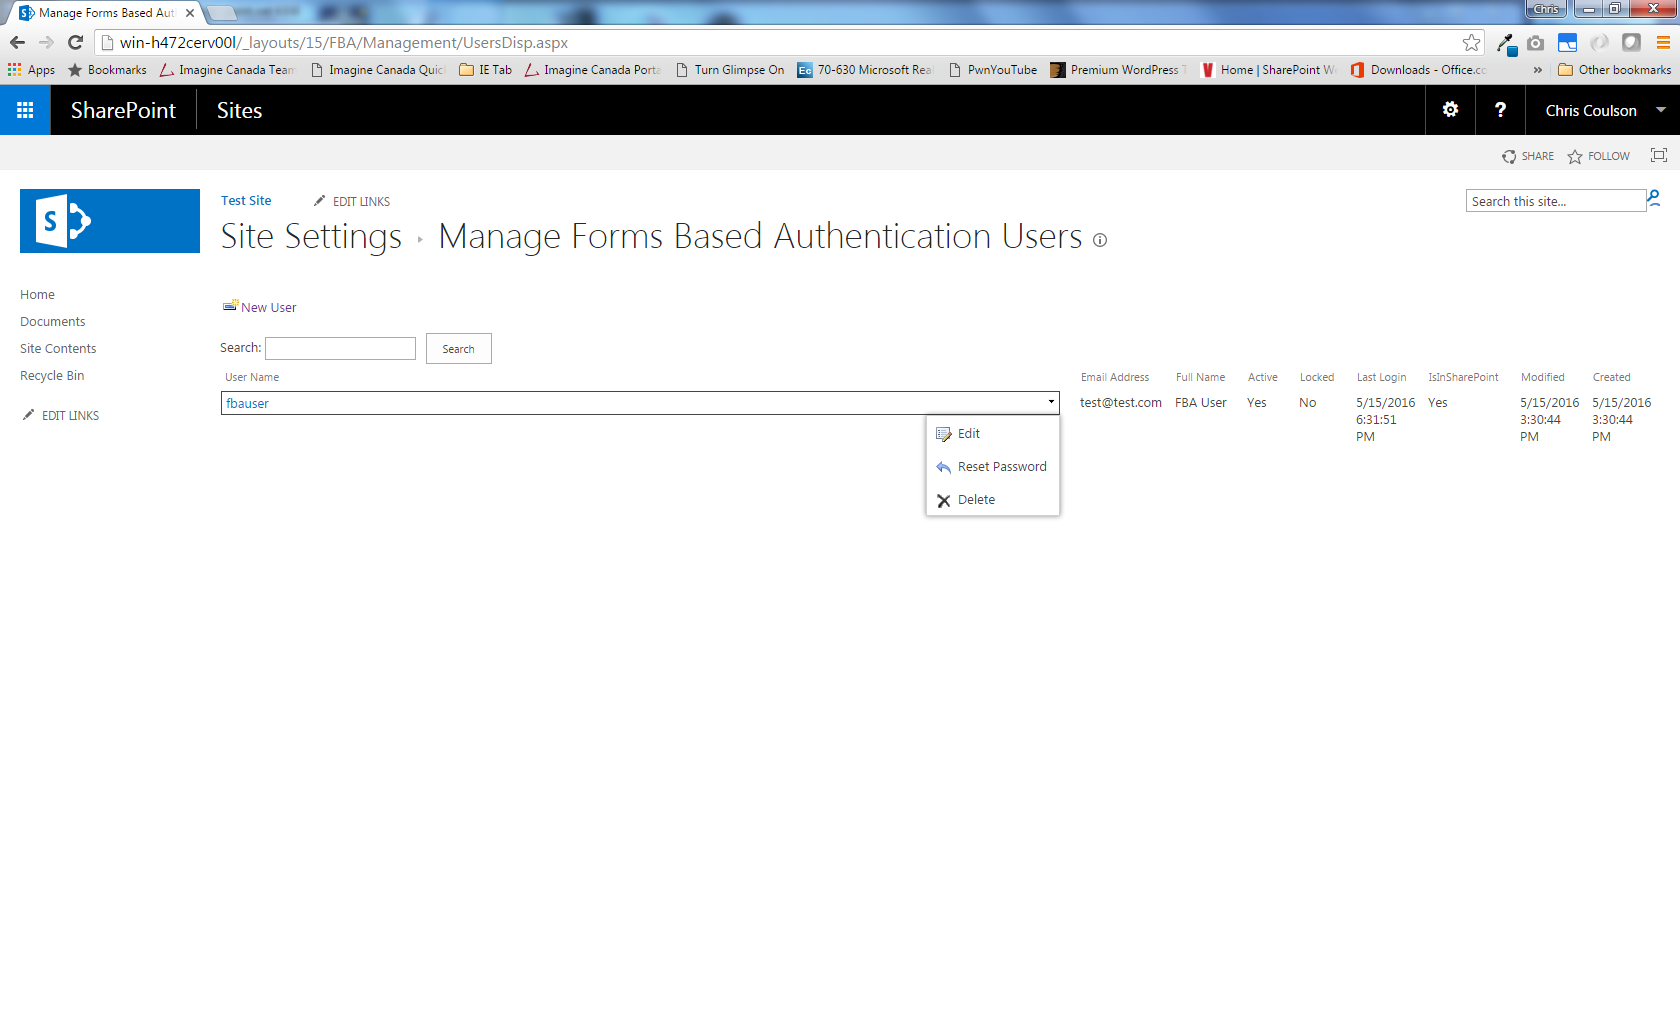
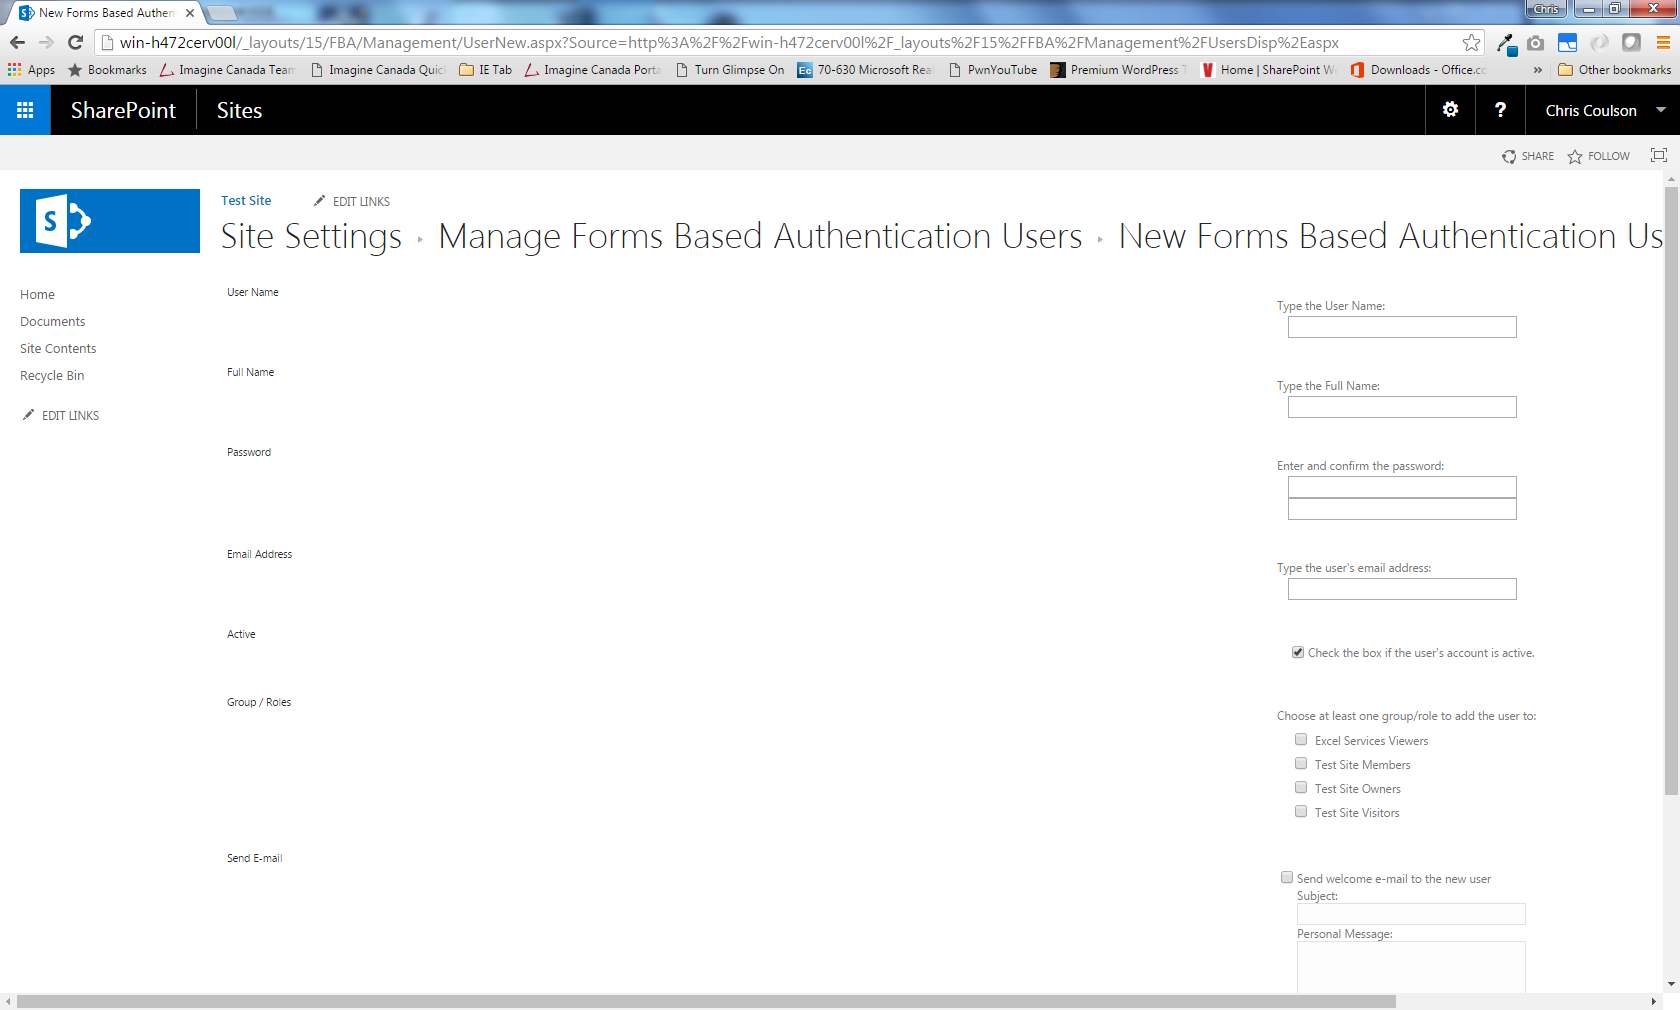
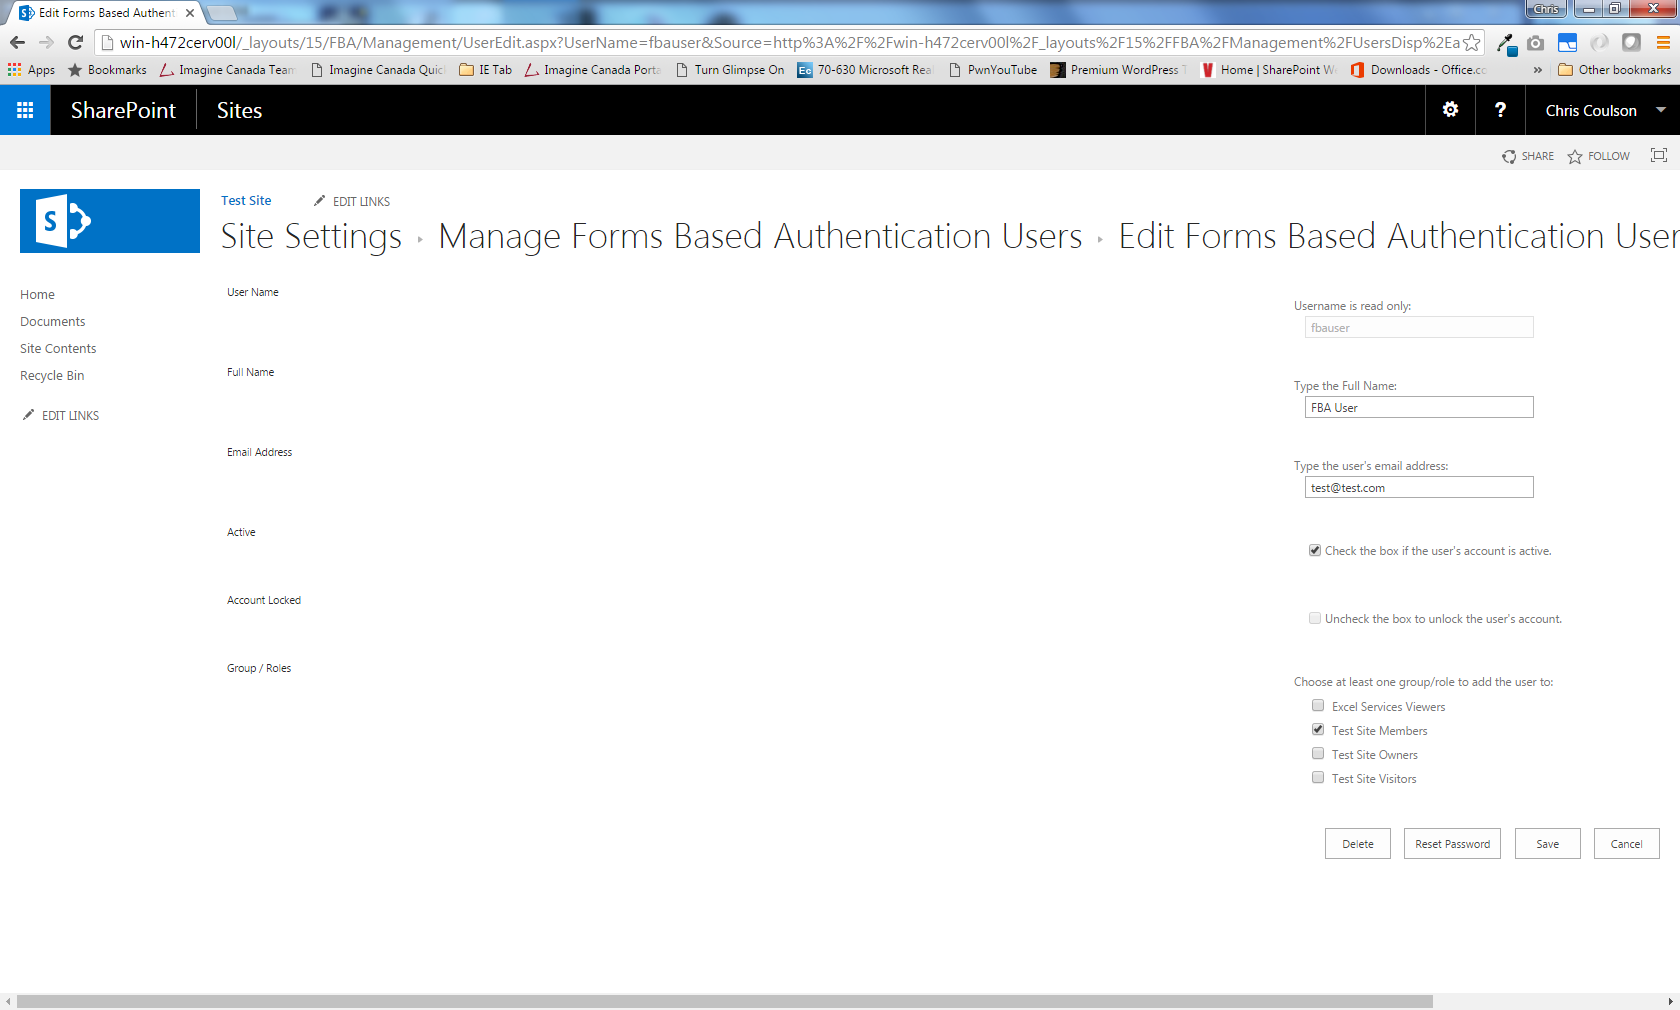
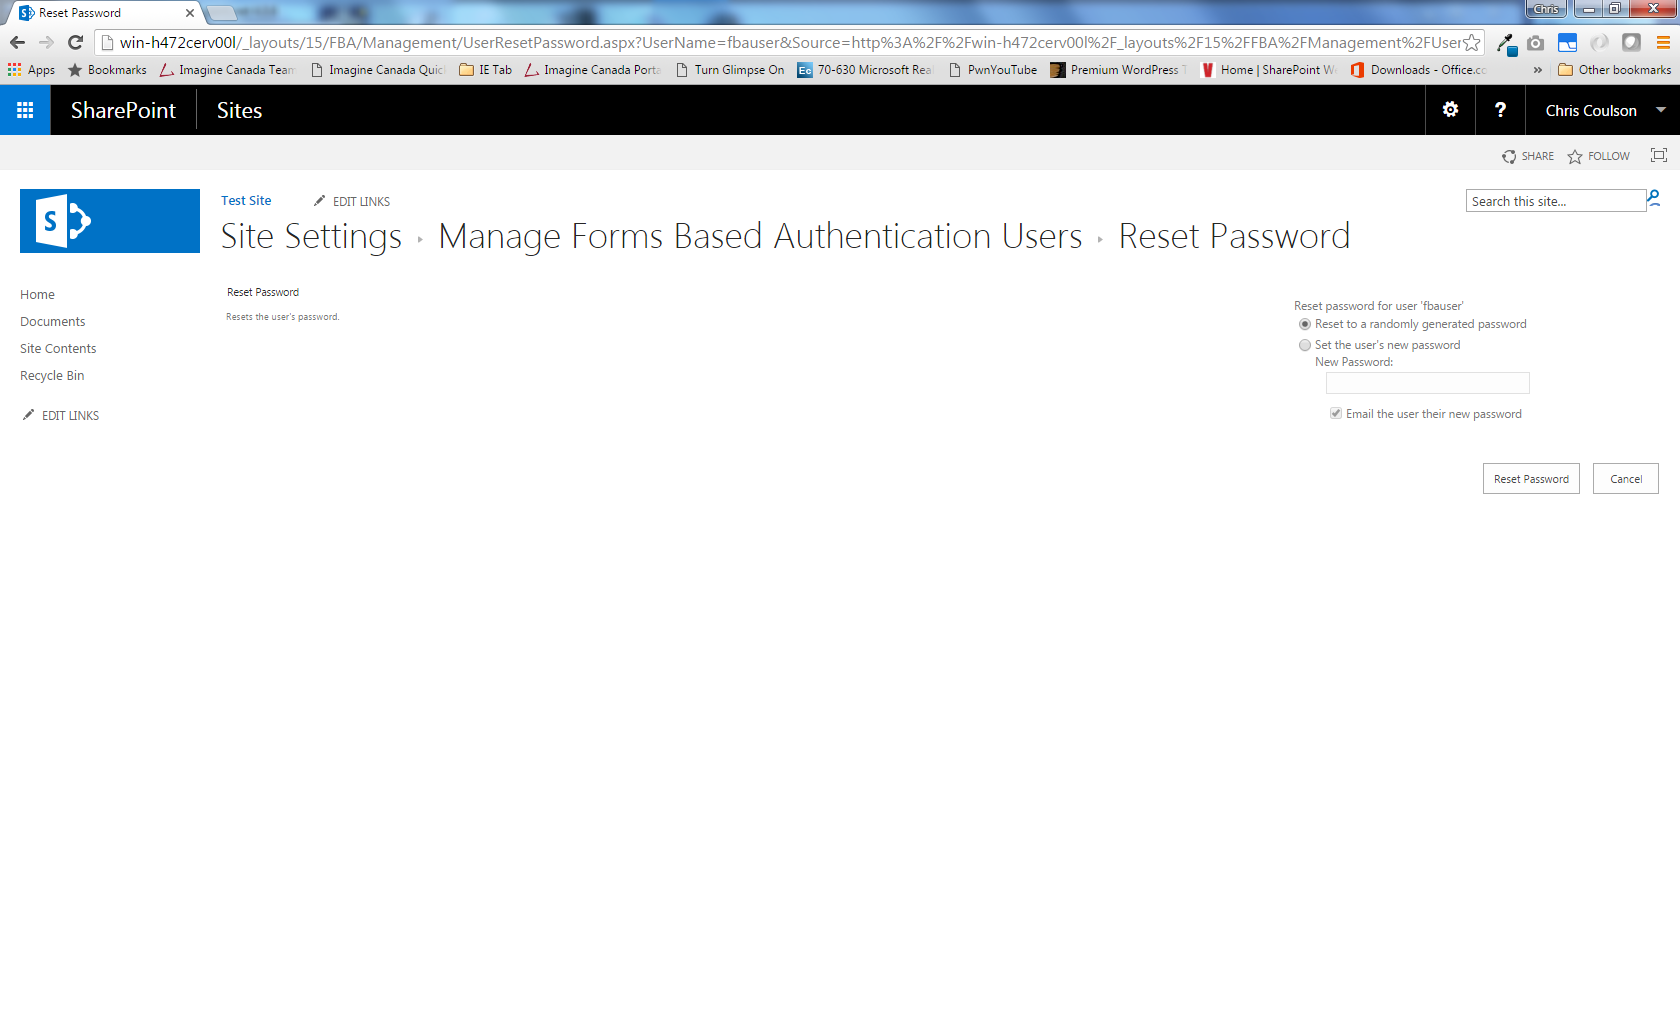
Managing users
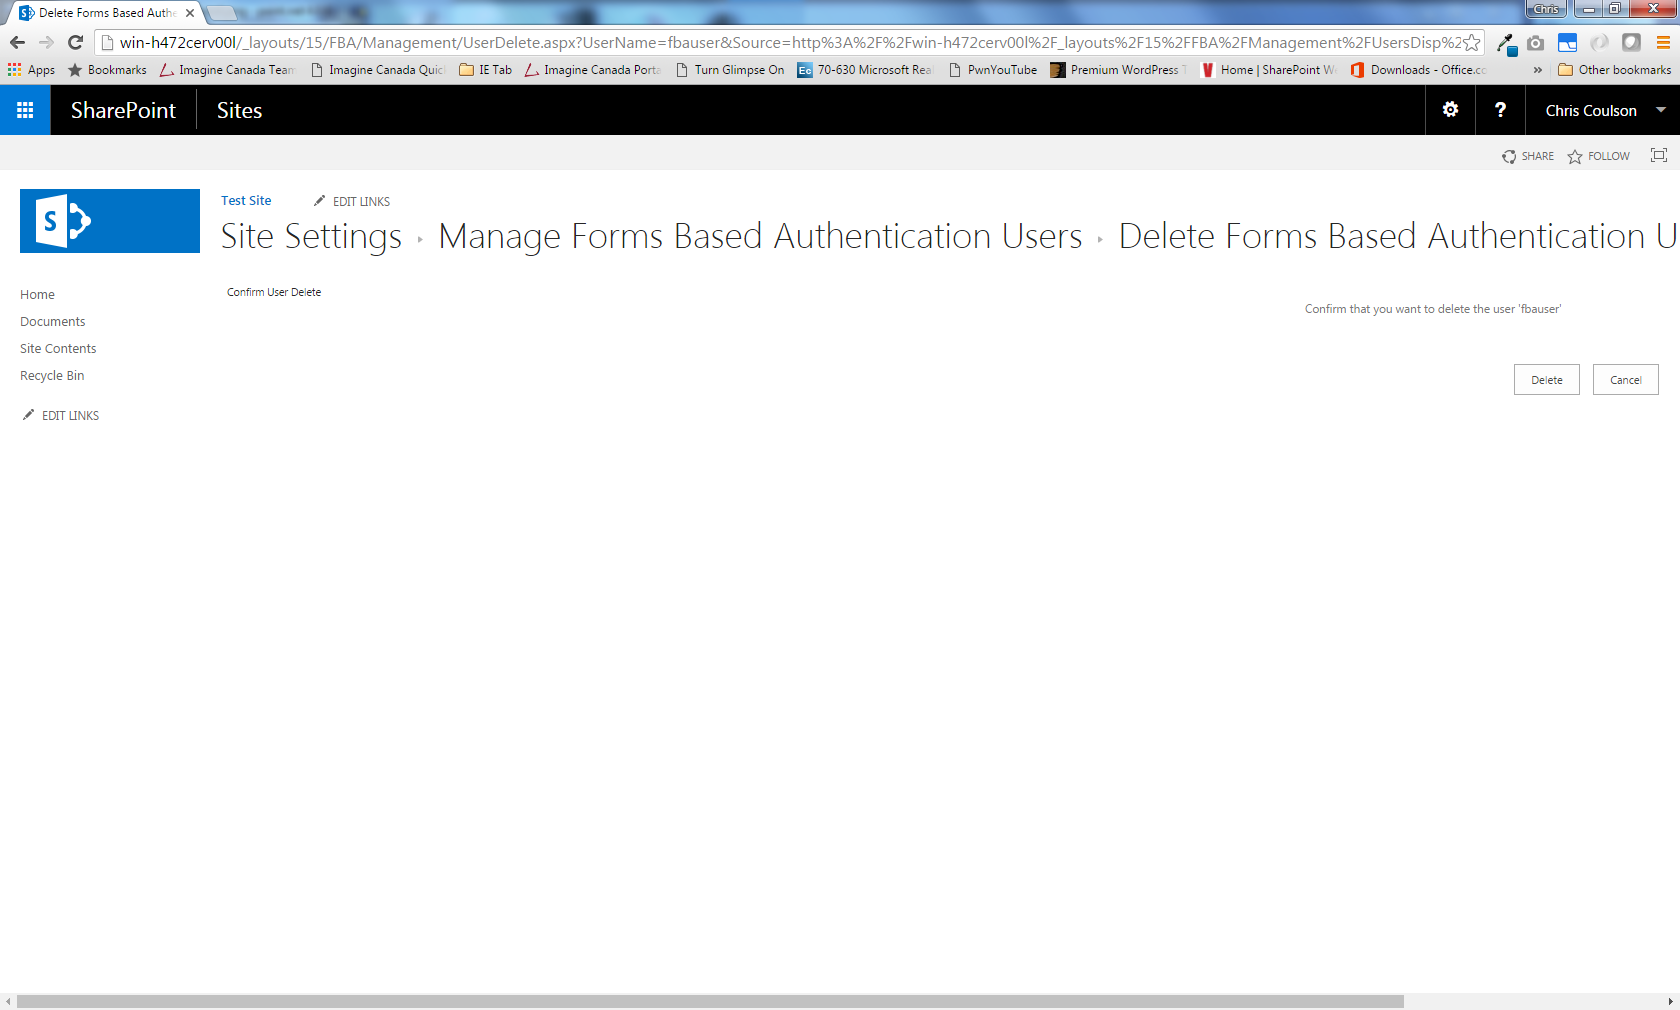
On the FBA User Management page you can create, edit and delete users and reset their passwords:
Managing roles
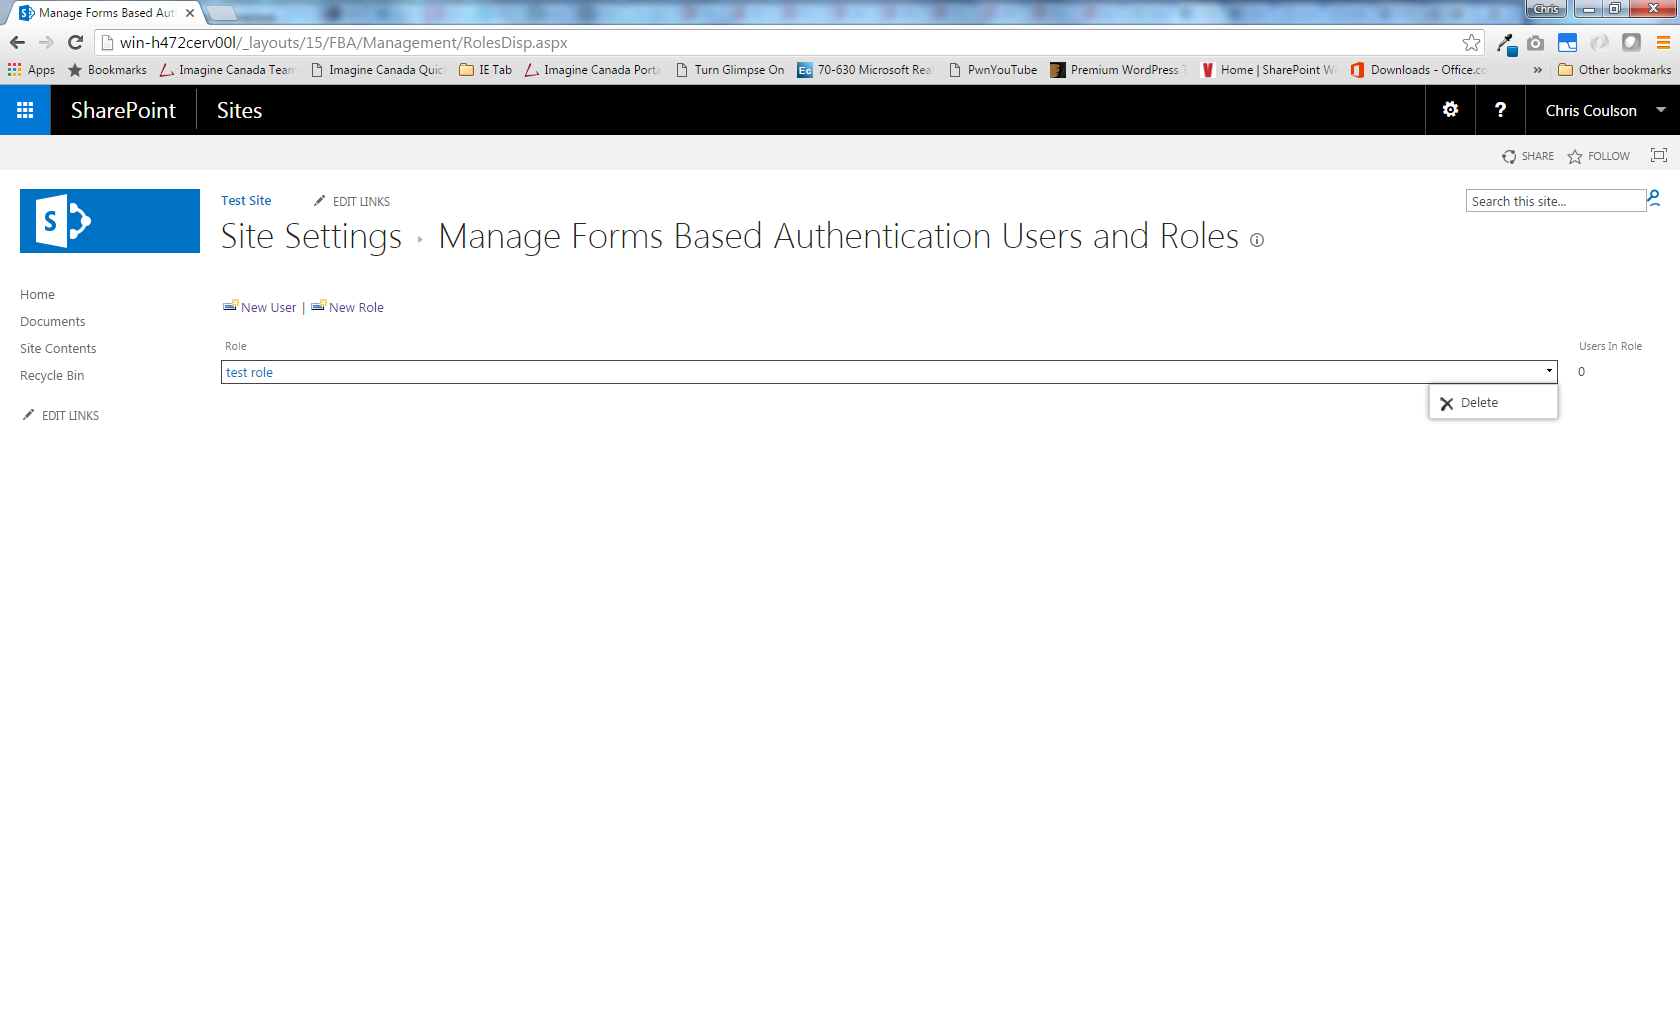
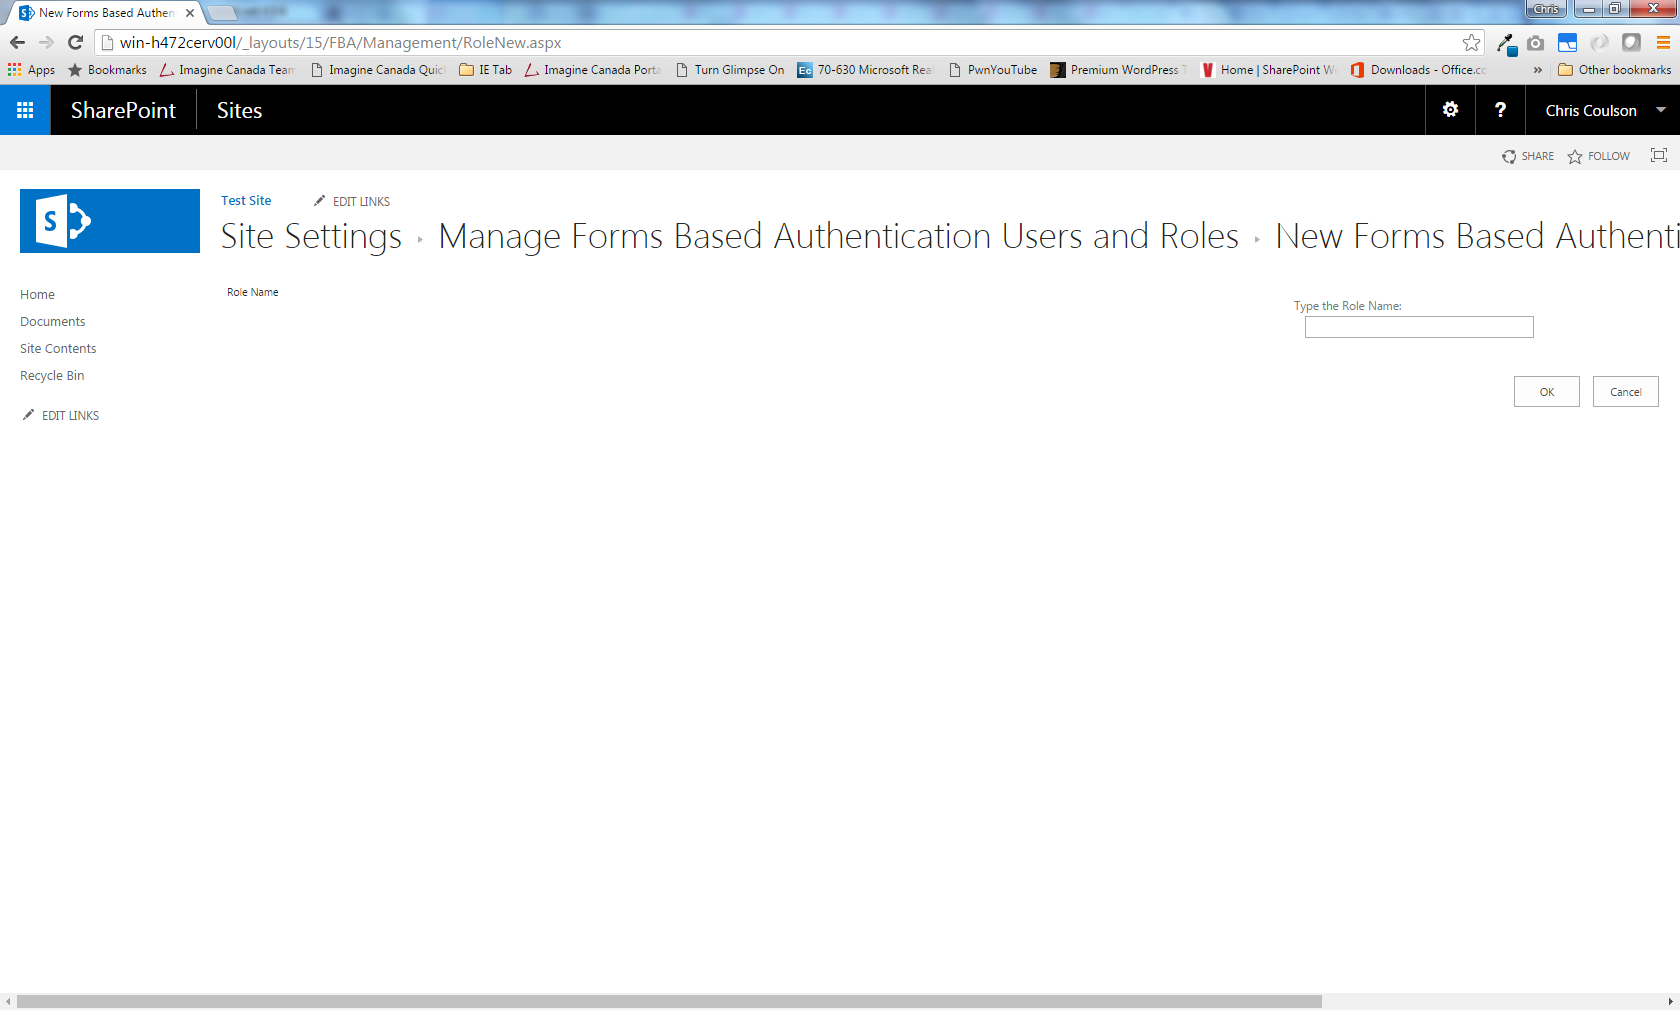
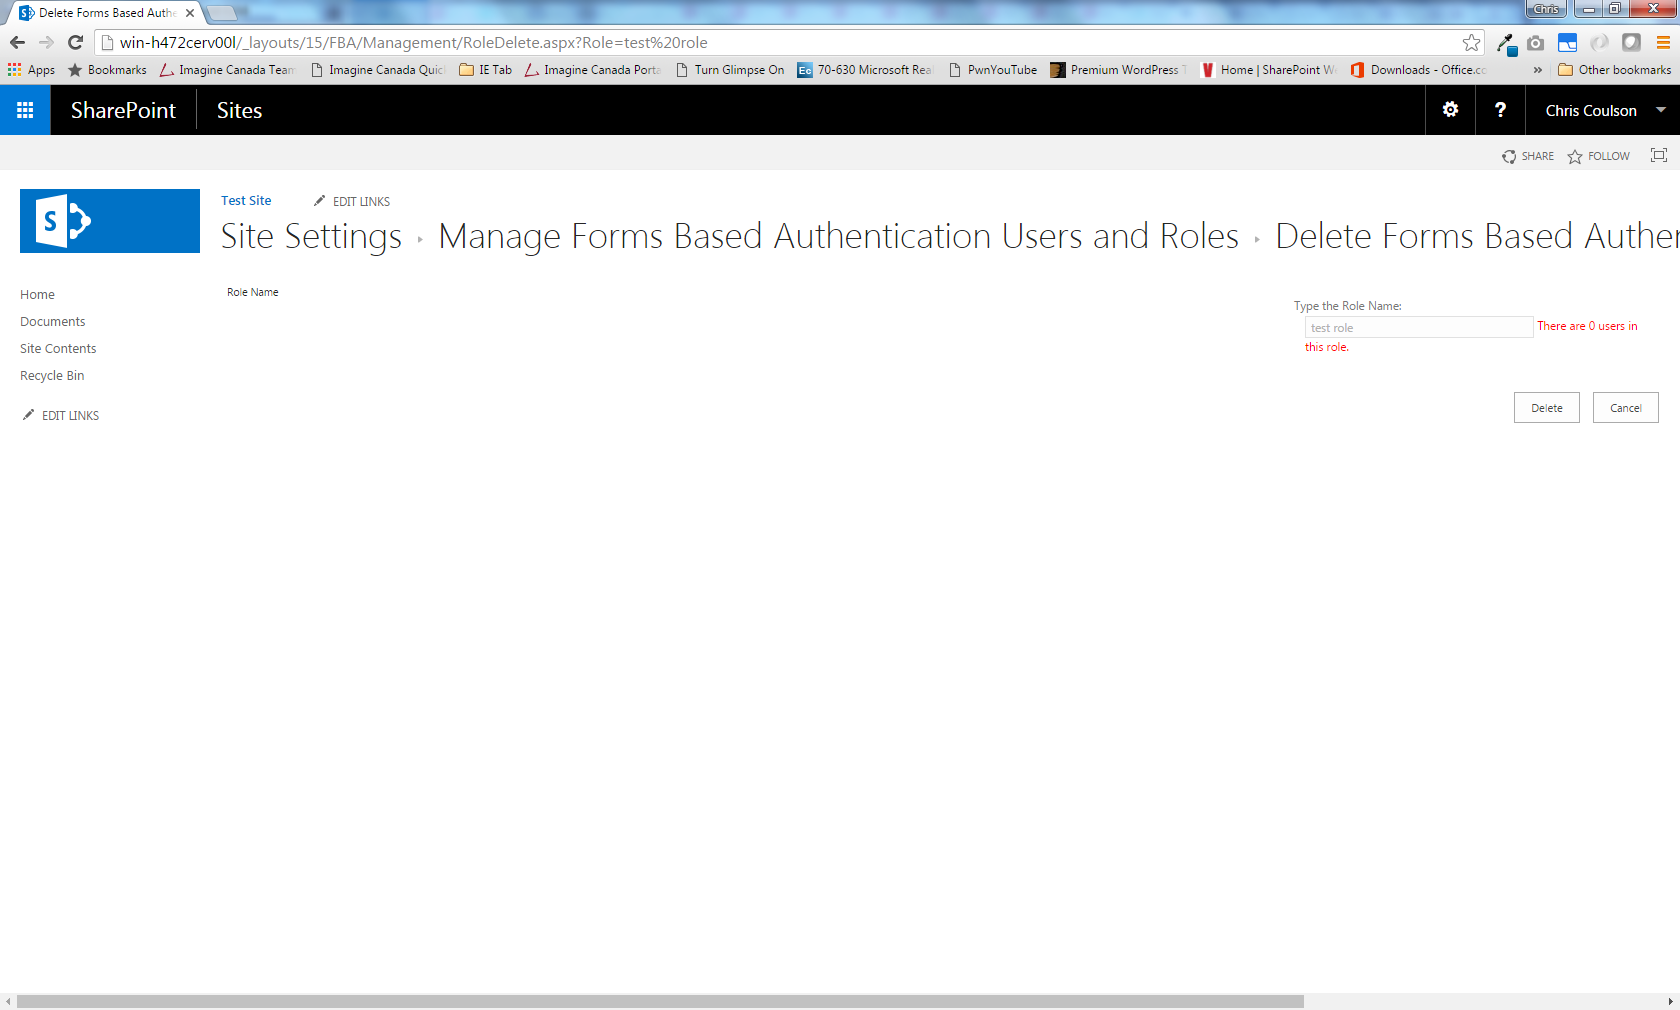
On the FBA Role Management page you can create and delete roles: